Make a Model Car
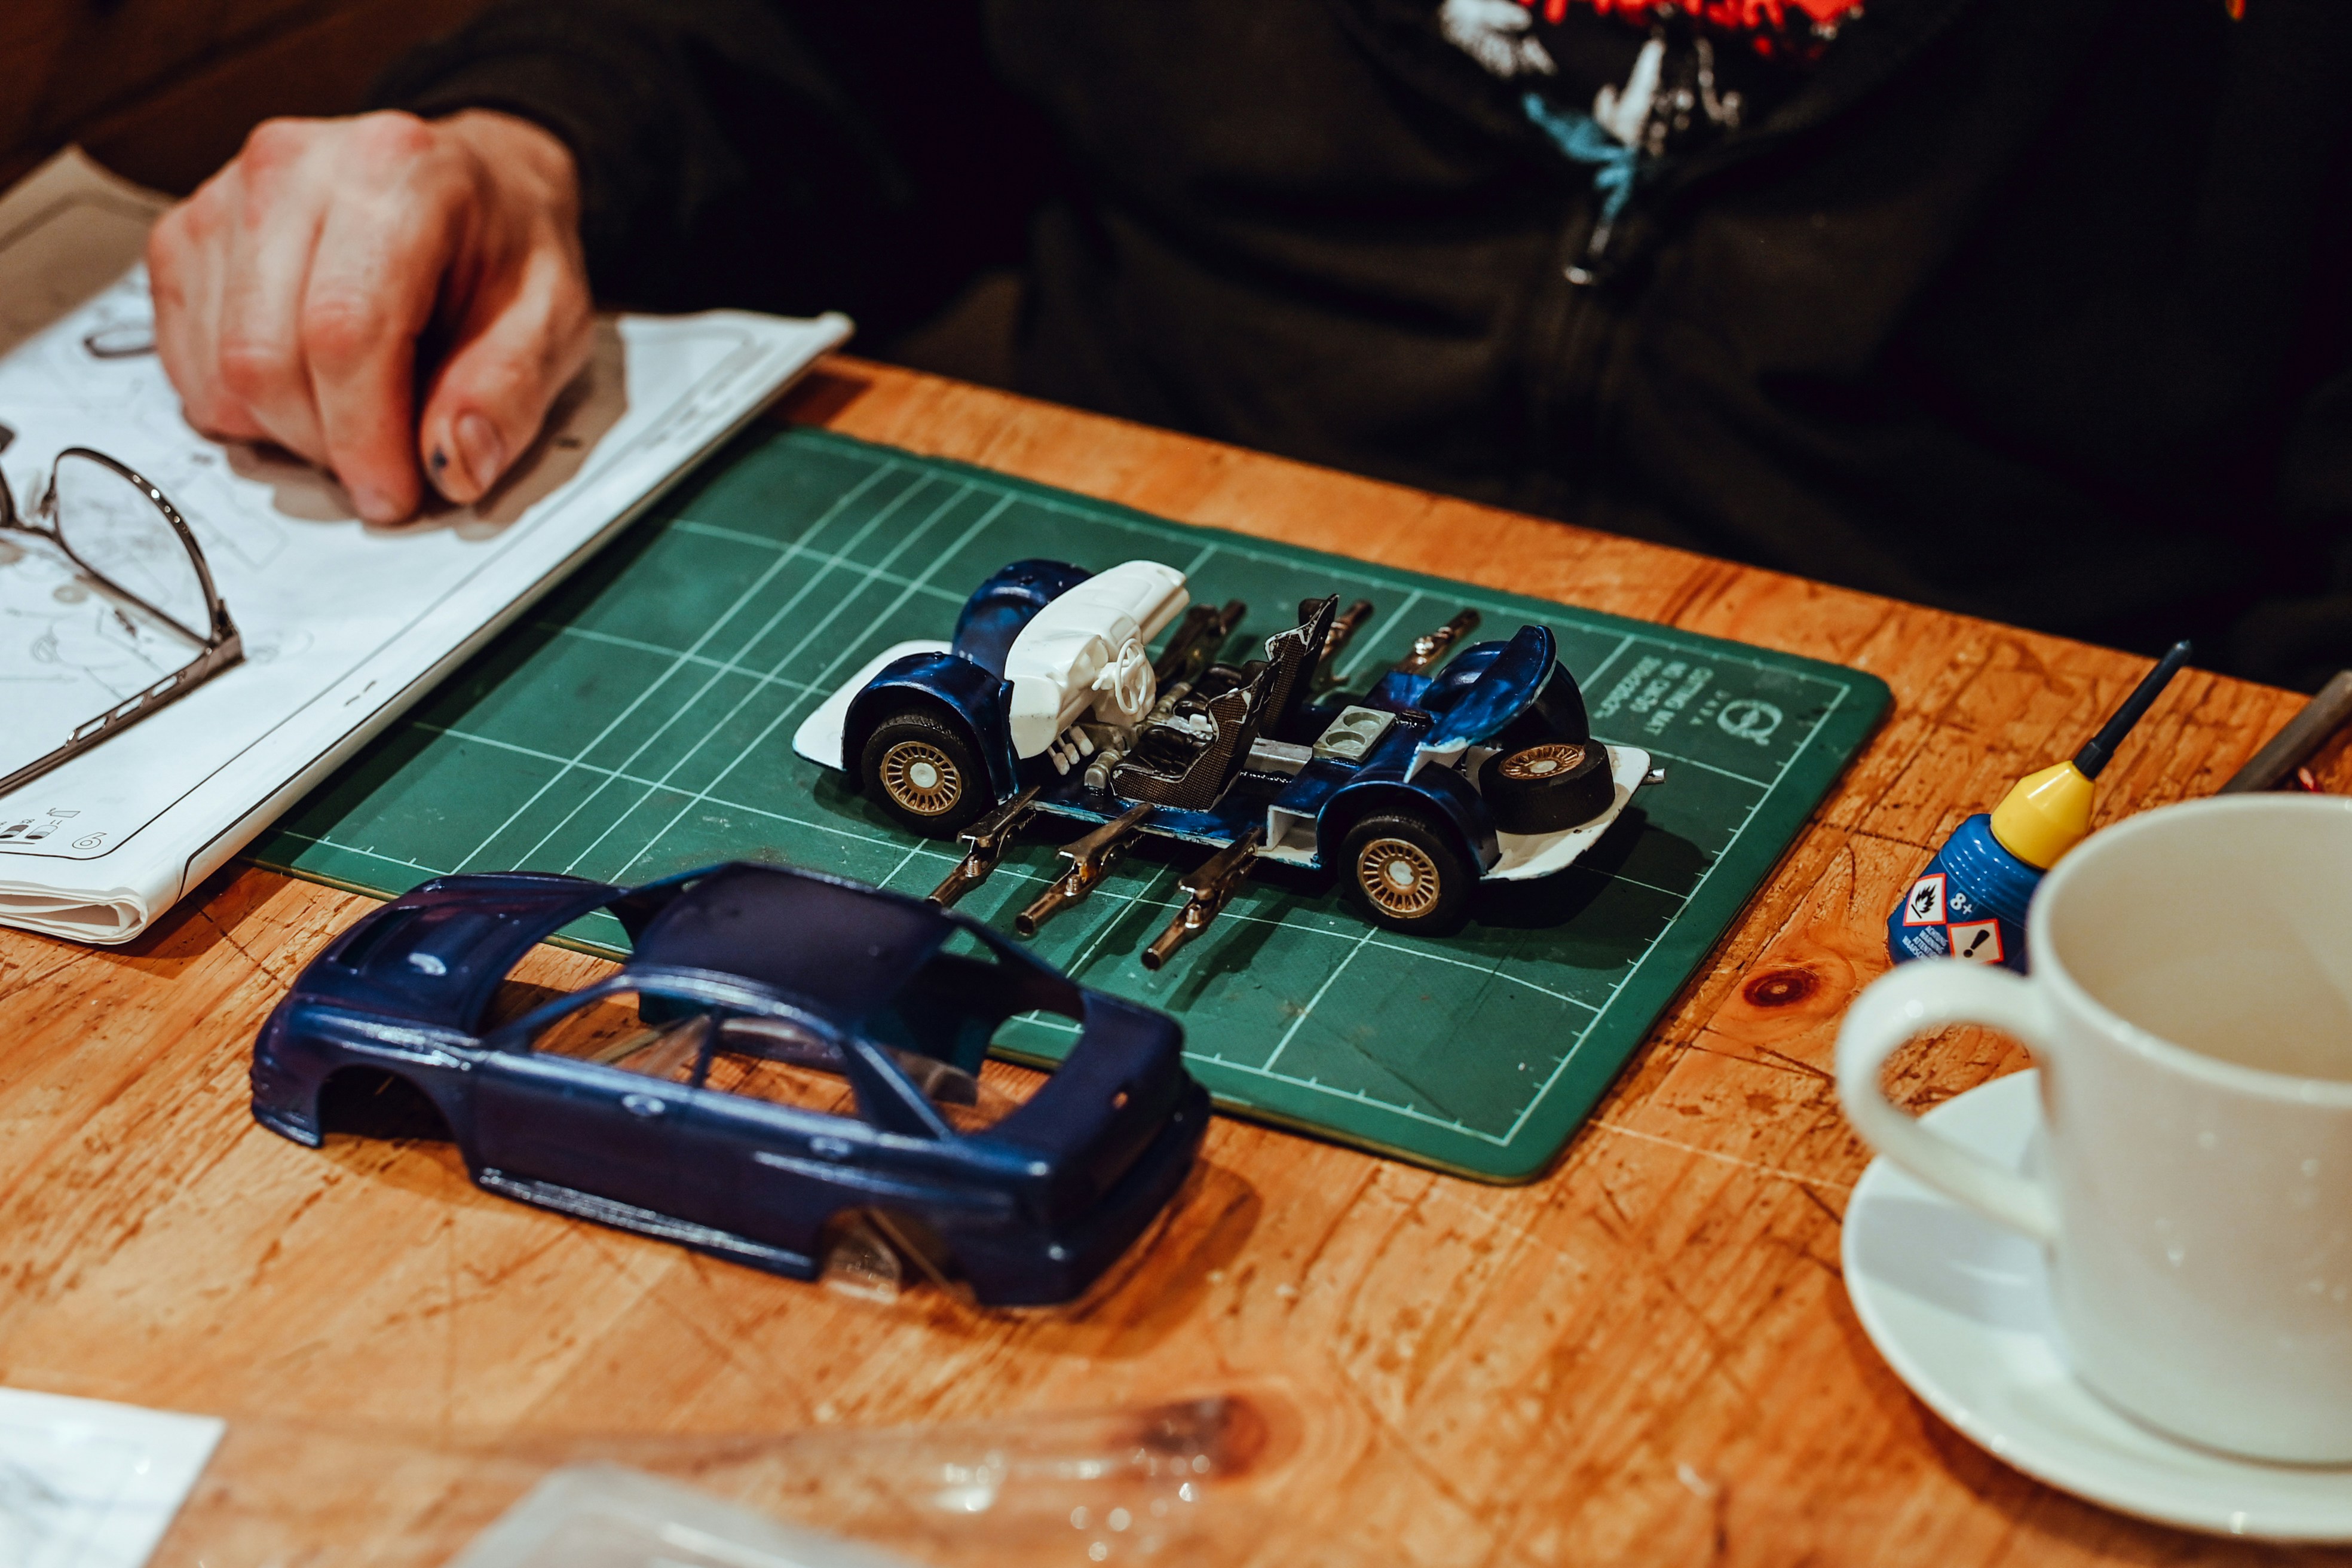
Building a model car turns a box of moulded parts into a miniature object with stance, proportion and mechanical detail. Whether the subject is a familiar road car, historic racer or invented design, progress comes through careful preparation rather than rushing towards paint. The final satisfaction is seeing separate components read as one convincing vehicle. Choose a beginner kit at a comfortable scale and check whether glue, paint and tools are included. Read the instructions from beginning to end, identify every sprue and plan which assemblies must be painted before joining. Use a cutting mat, fine clippers, small files and only the adhesive specified for the material; children should use age-appropriate kits with close adult supervision. Work in good light and ventilation, follow all solvent and paint warnings and keep products away from flame, food and skin. Cut away from fingers, wear eye protection where fragments may fly and cap blades and chemicals immediately after use. Test-fit parts, remove mould lines gradually, apply thin coats and let each stage cure instead of forcing a misaligned piece. Keep tiny parts in labelled containers and take progress photographs before sections disappear inside the body. Decals settle best on a smooth surface with patience, while light weathering should support the chosen story rather than conceal poor assembly. Completion is a structurally sound model that sits correctly and represents your chosen car coherently—not inhaling fumes, using a blunt knife with extra force or abandoning the build because the first coat is imperfect.