Create an Ice Sculpture
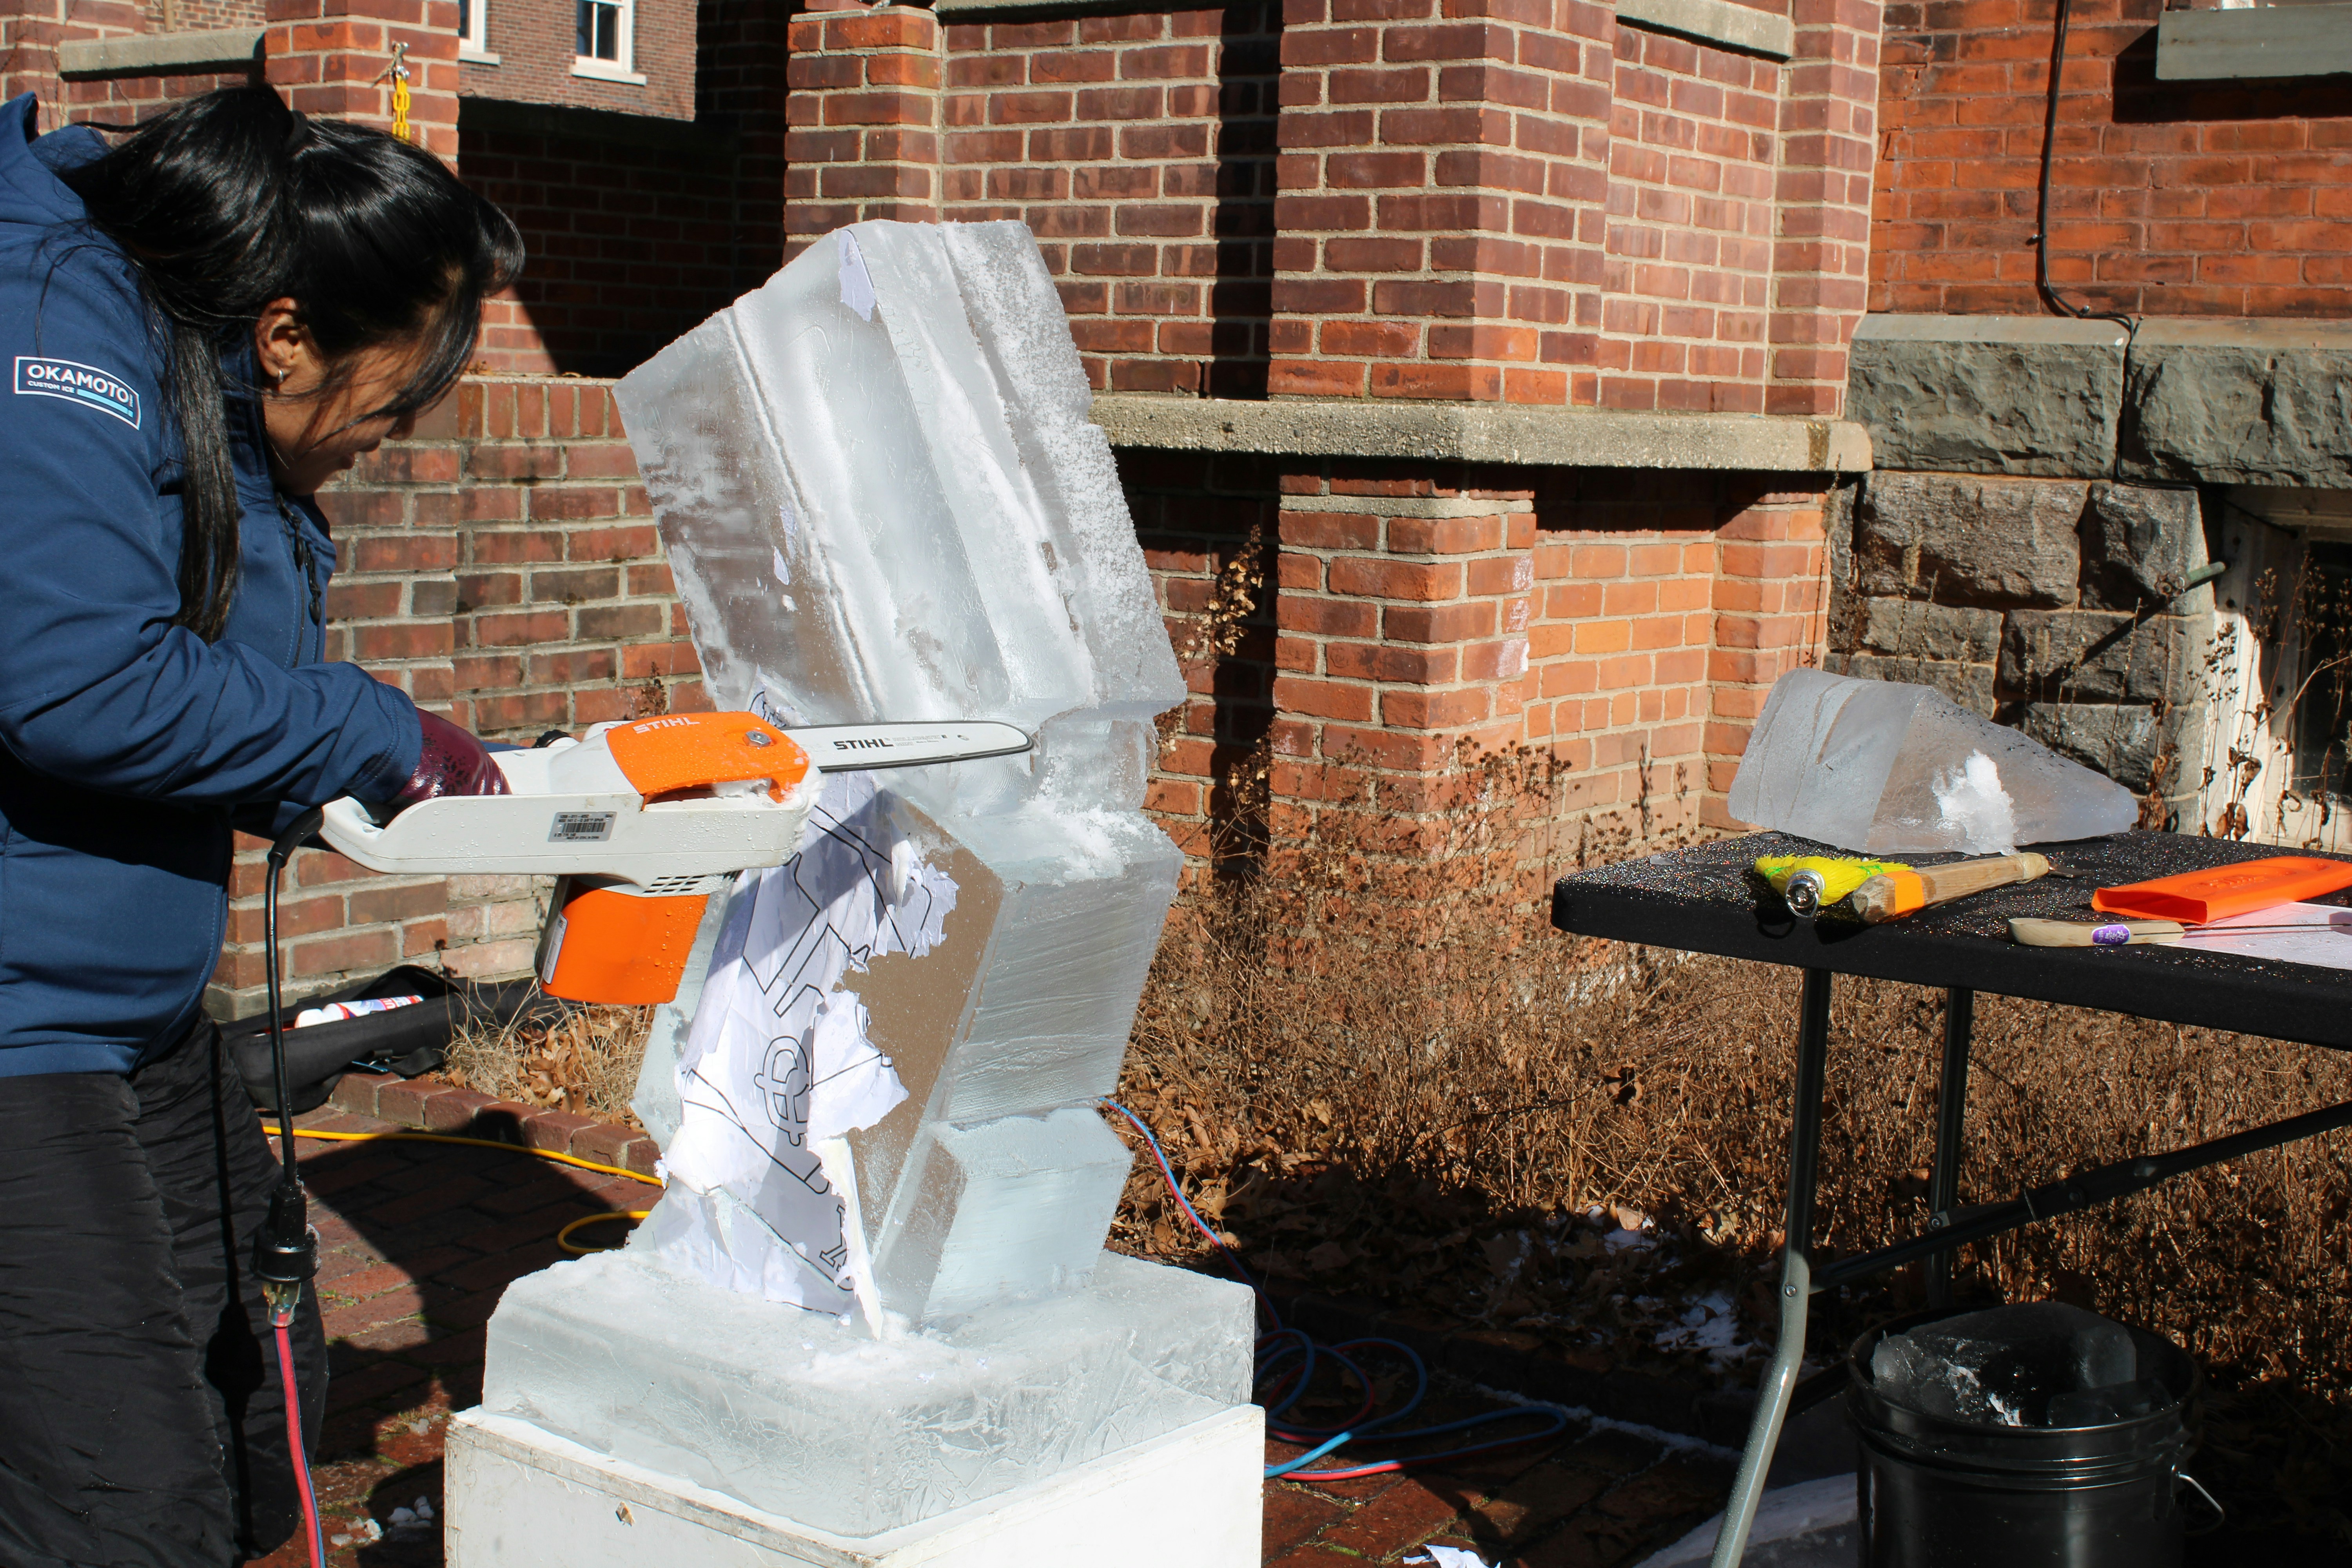
A clear block stands on the bench with the finished shape hidden inside it. The first cuts are broad and noisy; later, a chisel pares a curve thin enough to catch the light. Ice sculpture is unusual because the material is beautiful, heavy, slippery and already disappearing while you work. Begin with a supervised workshop rather than a frozen bucket and improvised power tools. Professional carving ice is made to be consistent and clear, and the instructor can show how to read cracks, establish a stable base and work from silhouette towards detail. Simple forms—a leaf, bird, fish or geometric vessel—teach proportion without requiring hours of fragile finishing. Melt can soften a rough surface, but it cannot rescue a design whose mass and balance were misunderstood at the start. Wear the eye protection, cut-resistant gloves, apron and closed footwear specified by the tutor. Keep the work area drained and free of trip hazards, lift blocks with the provided equipment and never try to catch a falling piece. Chisels and saws need controlled direction, clear space and trained supervision; alcohol belongs after the tools have been put away. If the sculpture will touch food or drink, use ice and handling arrangements intended for that purpose. Plan transport, a waterproof display base and the room temperature before carving details that may vanish in minutes. Photograph the piece from several angles as soon as it is finished, then allow it to change. The temporary nature is not a flaw: you shaped light and water for long enough to make an object that could exist only once.